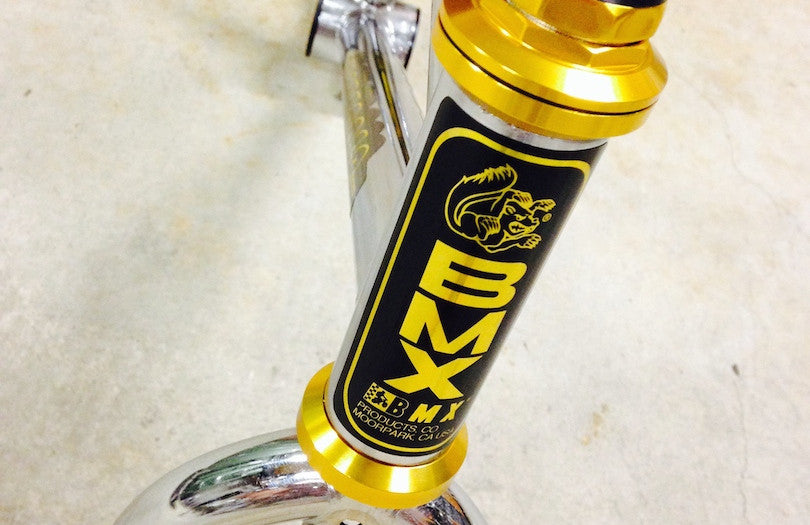
Creating custom decals for BMX restoration and rebuilding
Share
As I progress through more old BMX bike restorations, I’ve enjoyed putting my graphic design and typography skills to work in new ways. The most satisfying is reproducing new decal sticker sets for the old BMX bikes I restore.
The first step in re-creating the sticker decals is setting up the design in Adobe Illustrator. I take as many photos as I need of the original decals as well as using photos from Google and a few other sources as reference. I don’t always replicate the old bikes original decals from when it rolled out of the shop, I like to add my own personal touch and customise the look to suit the particular bike I am restoring and re-building.

One of my latest restoration projects is an old mid-school 1994 Mongoose Expert BMX. I decided to use the sticker design from a 1986 Mongoose Expert as the basis for the design, this is my favourite year for Mongoose decals, the layout and typography are unique to old 1986 bikes. Mongoose decal stickers remained the same between 1983 and 1985, then in 1986 the design was updated, unfortunately this design was relatively short lived as it was changed again in 1987.

Unfortunately, the world is full of bad graphic design with the ’90s being particularly bad, the 1994 Mongoose Expert has a number of ugly stickers which I wasn’t going to re-create.


However, there was one original 1994 decal sticker I did want to keep, the unique seat tube decal graphics were really interesting.
It’s important to take measurements of all of the original decals (if you have them) as well as the BMX frame tubes you will be placing the decals on. Each BMX brand model and year the frames changed, so knowing sizes for your stickers is important. Designing a full set of decal stickers takes a few hours, most of the work is done from scratch. It’s not like I can scan or trace the old decals, so they have to be completely redrawn. Re-designing stickers this way is not a perfect science, the decals I make are custom decals and are not intended to be perfect reproductions of the original. I am a bit of a perfectionist though, so I’ll get it as close as I can.
Unfortunately I don’t have free reign access to a full colour sticker screen printing press, so I have to make do with the large colour laser printer I can use plus a few tricks I have tested and perfected over the past few builds. The stock I can use in the laser printer is an A3 clear gloss sheet, I can print on this sticker stock in full colour, however the coloured inks need to be placed over white to get the full brightness, so colour works well when going on a white BMX frame, but look terrible on anything else.
An example of a full colour decal sticker set printed on the clear gloss can be seen on the 1981 Giant GMX-250 I restored earlier this year. The blue stickers looked great on the white frame. More photos and information on that build here.


For all other frame colours the A3 clear gloss stock requires it to be stuck to a light background colour before it can be placed on the frame. I have not yet been able to find a suitable white sticker stock to print on or use as a background, however I have found coloured chrome tape that works a treat.
To finish a set of decal stickers I print the decals black on the clear gloss and roughly cut them from the sheet. On a clean sheet of sticker backing paper I lay down strips of the coloured tape. Peel off the printed black sticker and place it over the coloured tape in the correct position. The final decals can then be hand cut to my crop marks and finished ready to be placed on the frame.

The black part of decals are printed on weatherproof vinyl stock, guaranteed not to fade for 2 years plus. However, bikes were made to ride, and ridden bikes get scratched. Here's to seeing these decals scratch and peel over time.
Although this particular set of Mongoose decals are not listed in the store, they can be purchased. Contact us for a price and availability.
Thanks for reading. If you liked this post, sign up to the blog via email on the home page and get all our news direct to your inbox.